

Home Theater
Commercial and residential installation
4.5/5
1,089
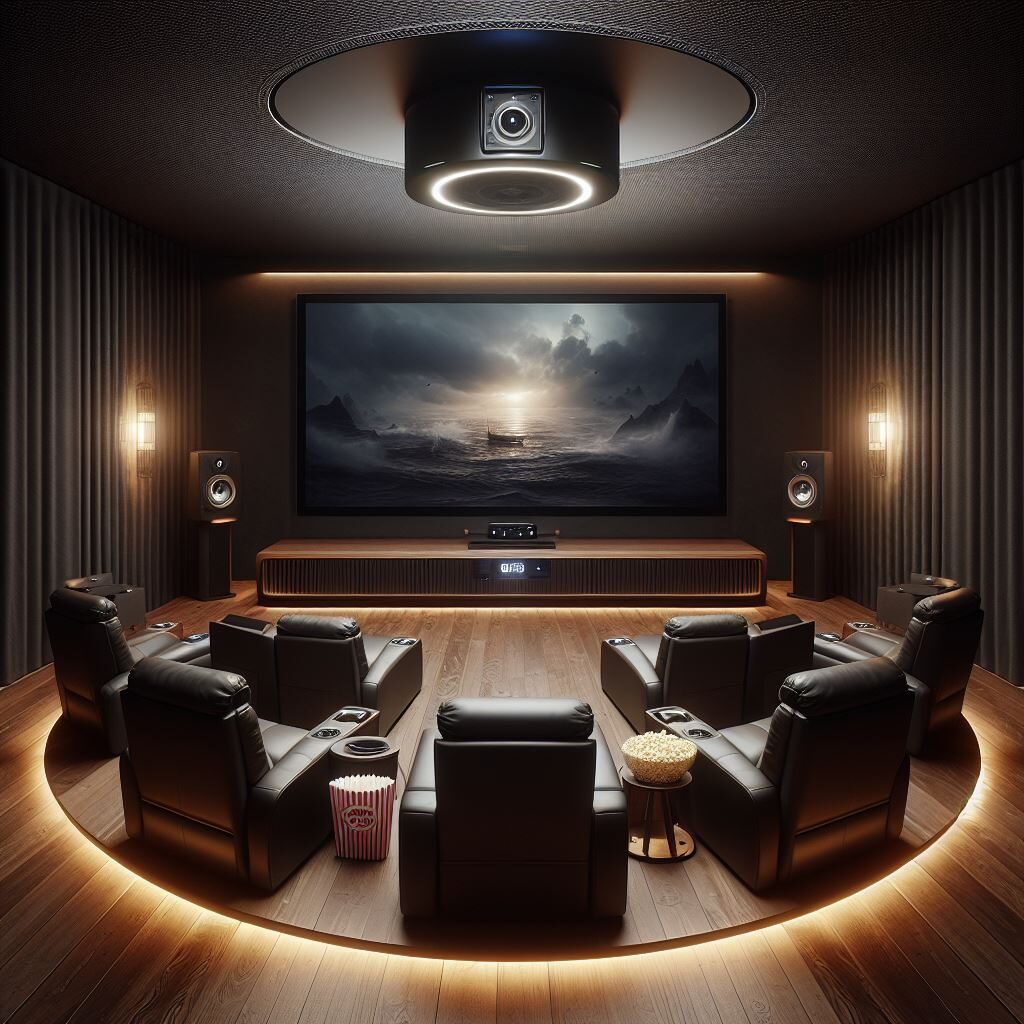
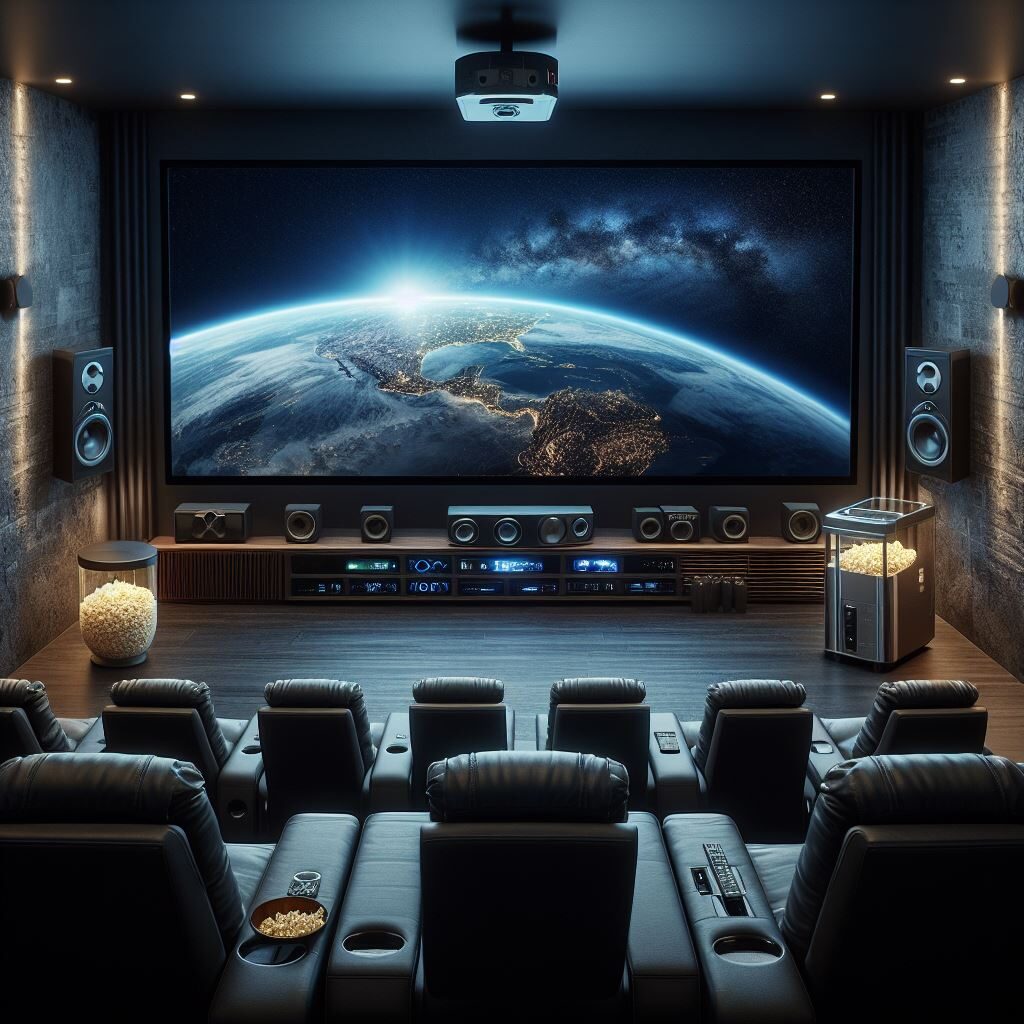
A home theater is a dedicated space designed to replicate the cinema experience in the comfort of your home. It typically includes a large screen or projector, surround sound speakers, and comfortable seating. The room is often dimly lit and acoustically treated to enhance audio and visual immersion.
1. Planning the Layout:
– Choose a suitable room and plan the layout considering seating, screen placement, and speaker positioning.
2. Selecting Equipment:
– Decide on the type of screen (TV or projector), sound system (surround sound or soundbar), and additional components like a Blu-ray player or streaming device.
3. Wiring and Connections:
– Running necessary cables for audio, video, and power. Ensuring you have HDMI, speaker wires, and possibly Ethernet cables for streaming devices.
4. Mounting the Screen:
– If using a projector, mounting it on the ceiling or a shelf. For TVs, wall mounting or using an entertainment center is common.
5. Setting Up Audio:
– Position speakers to create a surround sound experience. Typically, this includes a center channel speaker, front left and right, surround speakers, and a subwoofer.
6. Calibrating the System:
– Adjusting settings on your audio and video components for optimal performance. Many systems come with calibration tools to help with this.
7. Testing:
– Playing different types of media to test the sound and picture quality. Make adjustments as necessary.
8. Finishing Touches:
– Consider adding blackout curtains, comfortable seating, and decor to enhance the overall experience.
If you need specific recommendations or have questions about particular equipment, feel free to ask!

Here’s a deeper dive into each step of the home theater installation process:
1. Planning the Layout
– Room Considerations: Ideally, choose a room with minimal natural light to enhance the viewing experience. Look for a space that can accommodate your desired screen size and seating arrangement.
– Seating Arrangement: Arrange seating in a way that allows everyone a clear view of the screen. Consider tiered seating if space allows, or recliners for comfort.
2. Selecting Equipment
– Screen Options:
– TVs: OLED or QLED TVs offer excellent picture quality. Choose a size based on your room dimensions and viewing distance.
– Projectors: For larger screens, projectors can provide a cinematic experience. Consider the throw distance, brightness (measured in lumens), and resolution (1080p, 4K).
– Audio Systems:
– Soundbars: A simpler option that enhances TV audio without the complexity of a surround system.
– Surround Sound: A 5.1 or 7.1 system includes multiple speakers for immersive audio. Brands like Sonos, Bose, and Klipsch offer various options.
– Additional Components:
– Streaming devices (Roku, Apple TV, etc.), Blu-ray players, and gaming consoles can all be integrated into your home theater setup.
3. Wiring and Connections
– Cable Management:we use cable conduits or raceways to keep cables organized and hidden. Avoiding cluttering the area with visible wires.
– Power Supply: Ensuring you have enough outlets for all devices. Consider a surge protector to safeguard your equipment.
4. Mounting the Screen
– Wall Mounting: We use a sturdy mount for TVs, ensuring it can support the weight and is installed at the right height.
– Projector Setup: Ceiling mounts require precise alignment with the screen. Ensuring you have a suitable distance for the projector to achieve the desired image size.
5. Setting Up Audio
– Speaker Placement:
– Front speakers should be at ear level when seated.
– Surround speakers should be positioned slightly above ear level and to the sides or behind the seating area.
– The subwoofer can be placed in various locations, but often the front of the room works best for bass response.
6. Calibrating the System
– Audio Calibration: Many modern receivers come with auto-calibration features that adjust speaker levels and distances. Manual adjustments may also be necessary for optimal sound.
– Video Calibration: Adjusting brightness, contrast, color settings, and sharpness for the best picture quality. Some TVs have built-in calibration tools or modes for different viewing environments.
7. Testing
– Playing various media types (movies, music, video games) to test the system. Checking for audio sync issues and adjust settings accordingly.
8. Finishing Touches
– Acoustics: Adding rugs, curtains, and wall panels can help improve sound quality by reducing echo.
– Lighting: Consider dimmable lights or smart lighting to create the right ambiance. Avoiding overhead lights that can create glare on screens.
– Comfort: Invest in comfortable seating options, and consider adding snacks or a mini-fridge for convenience.
– Smart Home Integration: Consider integrating smart home technology for remote control of your system, lighting, and climate.
-We offer professional help insuring you about installation and calibration.
Our company specialize in home theater setups We can provide professional and experienced assistance.
If you have specific questions about any of these steps or need recommendations for equipment, just let us know!